Sunday, October 7, 2012

Barbecue Pulled Porked Sliders

It's football season - it's fall - it's getting cold outside. Comfort food is much needed this weekend.

We were gifted a slow cooker from our wedding registry, and I've been DYING to use it - I love this thing! The first thing I did with it was make this pulled pork. It's super simple to make - the pork just has to sit in the slow cooker for hours. Once it's done you just "pull" it apart. The barbecue sauce and blue cheese coleslaw is probably the more difficult part of this meal! The barbecue sauce is made from scratch, it had a tangy, spicy taste, which goes well with the pork. The coleslaw adds a great texture and lightness to the sliders.

If you have left overs, you can keep it refrigerated for a few days, or you can be creative and make pulled pork hash and eggs for breakfast!


Ingredients: Serves about 4-6
  • Pork Shoulder or Pork Butt - about 3.25 lbs
  • 1/2 Can of Root Beer
  • Sea Salt
  • Cracked Pepper
  • Slider Buns (or normal size buns)
Barbecue Sauce:
  • 1 of Slice of Bacon
  • 1 Bunch Fresh Thyme
  • 1/2 Vidalia Onion, chopped
  • 2 Garlic Cloves, minced
  • 2 Cups of Ketchup
  • 1/4 Cup Brown Sugar
  • 1 tbs Liquid Smoke
  • 2 tbs Red Wine Vinegar
  • 1 tbs Spicy Brown Mustard
  • 1/2 tsp Ground Cumin
  • 1 tsp Paprika
  • Pinch of Cayenne Pepper
  • Cracked Black Pepper
Pulled Pork:
Rinse the pork butt and pat dry. Cut off the excess fat. Season with lots of salt and pepper.


 Put the pork in the slow cooker (or crock pot), and pour in the root beer. Cook on low for 12 hours.
Rotate 2-3 times during the cooking process

Once it is done, turn the slow cooker off to cool the meat.
After 12 hours - shrinks about 30%!

Remove from slow cooker and place on a cutting board. Pull the pork apart with two forks or with your hands.
Meat will easily pull apart
Strain the juice in the crock pot, as we will use some of this to keep the pork moist.

Put the pulled pork back in the slow cooker and add some of the strained juice (about 1/2 cup or as needed) to keep it moist. About 30 min before serving, put the slow cooker on the "keep warm" function so that the pork is warmed up to eat.


Barbecue Sauce:
Wrap the bacon around the bunch of thyme and tie with kitchen twine. Over medium heat, add 2 tablespoons of oil in a large saucepan. Once the oil is heated, add the bacon-wrapped thyme and cook slowly 3-4 minutes to render the bacon fat. This will help give the barbecue sauce a nice smoky taste.


Add the onion and garlic and cook slowly for 5 minutes. Then, add the remaining ingredients and stir altogether. Turn the heat down to low, and cook slowly for about 20 minutes to blend in all the flavors. Once done, turn off heat and discard the bacon wrapped thyme.


Preparation:
Place pulled pork on your buns, and spoon the barbecue sauce on top of the pulled pork. Serve with a side of blue cheese coleslaw. I ended up putting some coleslaw in the sliders, adding great taste and texture!

Blue Cheese Coleslaw


I've never been a huge fan of coleslaw, maybe because I didn't grow up eating it, ever. Things with mayo always sort of discouraged me. Over the years coleslaw has grown on me and I've learned that it can add nice flavor and crunch to certain dishes (like my pulled pork sliders!). We initially had this coleslaw in Wisconsin, credits to Ryan's mom, and he immediately fell in love with it. In an effort to be a good wife and make one of his favorite foods, I made this coleslaw (Ina Garten's), but tweaked it a bit to be my own. I used two different kinds of blue cheese for a more sophisticated flavor, and I used miracle whip instead of mayo to make it a tad bit healthier.

Ingredients: Party Size
    Left - Roquefort, Right - Danish Mild Blue
  • 1 Small Head Green Cabbage
  • 1 Small Head Red Cabbage 
  • 4 Large Carrots, cleaned and julienned
  • 2 cups Miracle Whip (one jar) 
  • 1/4 cup Dijon Mustard 
  • 2 tbs Apple Cider Vinegar
  • 1 tsp Celery Salt
  • 1/2 tsp Kosher Salt
  • 1/2 tsp Freshly Ground Black Pepper
  • 1/4 lb Roquefort Blue Cheese, crumbled
  • 1/4 lb Danish Mild Blue Cheese, crumbled


Cut the cabbages in half and then in quarters and cut out the cores. Slice them very thin and chop into smaller slices, OR run them through a food processor. I prefer to hand cut so that I can get the size and texture I want. Transfer into a large bowl. Add the julienned carrots and mix altogether.


In a separate, medium bowl, whisk together the miracle whip, mustard, vinegar, celery salt, kosher salt, and pepper. Add in the crumbled blue cheese and mix again. Pour the dressing over the vegetables and toss well. Cover the bowl with plastic wrap and refrigerate for several hours to allow the flavors to meld. Serve cold or at room temperature.

Pulled Pork Hash and Eggs


I made Pulled Pork this weekend for Pulled Pork Sliders (recipe to follow), and there was A LOT of pork to go around. So, we decided to make a hash for breakfast. Umm.. YUM! I will explain the pulled pork process in a separate post, but basically I slow cooked pork butt for 12+ hours with salt, pepper, and a half can of root beer. However, you can make this hash with any left over meat, like steak, roast, corned beef, or you can even use bacon as a substitute! Today, we made this with eggs over-easy (a personal preference), but you can prepare your eggs as you please - poached (a close second favorite), fried, scrambled, or sunny side up.

Ingredients: For 2
  • 2 Yukon Gold Potatoes, chopped into small cubes (one potato per person)
  • 1-2 tbs diced Vidalia Onion
  • 1 tbs Butter
  • 3 Small Cherry Peppers, (the jarred kind) diced
  • 1/2 tsp Paprika
  • Salt and Pepper to season
  • 1/4 cup Water (or more as needed)
  • Pulled Pork
  • Eggs, prepared as you wish


In a large to medium skillet, heat up the butter. Then, add in the onions and sweat them out. Add the potatoes, and mix them in well with the onions. Season with salt, pepper and paprika.

Mix in the cherry peppers and water. Continue stirring so that the hash is mixed well. The water will assist the potatoes in cooking thoroughly. Let the potatoes cook with the lid on for about 10 minutes, or until fully cooked through. Stir occasionally so that it doesn't stick to the bottom. Add additional water as needed. Taste for salt/pepper, add more as needed.


Add in your pulled pork (or your substitute protein) and let cook together for another couple minutes.


Serve with your eggs!

Wednesday, September 26, 2012

Portobello-Shiitaki-Oyster Mushroom Risotto


You may be thinking - didn't she already write about a mushroom risotto (porcini risotto)? Well, yes, I did... but this one is very different. For one, I use different mushrooms in this recipe. I also use red wine instead of white, and I use pecorino instead of parmigiano. There are a few other slight differences as well, but both are very delicious.  I made this risotto because I purchased a gourmet mushroom mix pack, including Oyster, Portobello, and Shiitaki mushrooms. Originally thinking I would make it for a pasta dish...but then I decided to go with Risotto because the mushroom dish I was thinking about includes pancetta, and I didn't have any handy (so TBA on this recipe one day!).  We enjoyed this risotto with a glass (or two) of our homemade Cabernet Sauvignon. I recommend finding good wine to drink with this, as well as use in the recipe.

Ingredients: Serves 4
  • 6-7 cups chicken broth, as needed
  • 1 tablespoons butter
  • 3 tablespoons olive oil
  • 2 garlic cloves, minced
  • 1 shallot, chopped
  • 1.5-2 cups Arborio rice
  • 1/2 cup Red Wine
  • 3 sprigs of thyme, pricked off the sprig
  • 1 sprig of Fresh Rosemary, pricked off the sprig
  • 4oz Mushroom mix: Oyster, Portobello, Shiitaki 
  • 1/3 cup Pecorino cheese, grated
  • Pinch of Crush Red Pepper
  • Salt and pepper, to taste

Heat the chicken broth in a medium sauce pan. Keep warm over low heat.

In a medium skillet, melt half the butter over medium heat and add the olive oil. Add half the onion and garlic. Once translucent, add the mushrooms. Mix well and cook over medium heat. Season with a little salt and pepper. Once they start to get soft, turn off heat and set aside. You don't want to over cook them as they will continue cooking in the risotto.


In the mean time, in a separate, large saucepan, melt the rest of the butter over medium heat and add in olive oil. Add in remaining onion, garlic, a pinch of crushed red pepper. Cook until translucent. Add rice and cook for 2 minutes, stirring to coat each grain. When the rice begins to make a crackling sound, add the red wine. Stir constantly, letting the red wine cook off and the rice absorb the wine.


After about 90 seconds, add in 1 ladle of the warm broth and stir until the rice has absorbed the liquid. Repeat this process, adding the remaining broth, one ladle at a time. Continue to stir, allowing the rice to absorb each addition of broth before adding more.  About midway, add the mushroom mix along with the rosemary and thyme.


Test the rice to see if it is done. It should be slightly al dente, but creamy.  Add additional salt and pepper as needed.  After you add in your final ladle of broth, add in the grated pecorino cheese and stir well until cheese is blended. 


Plate in a bowl and garnish with fresh rosemary.

Wednesday, September 19, 2012

Heirloom Tomato and Balsamic Reduction

There's just something about biting into an heirloom tomato that makes it special, compared to a normal tomato. When you are making a salad or an appetizer where tomato is the focal point, I recommend looking for the heirlooms.There are a few different types of heirloom tomatoes...The kind in this post is a cross-pollination hybrid. Yes, we can cross-breed tomatoes just like we do dogs ... use two different parents! That's how we get the marble colors, stripes, and multi-colored tomatoes.

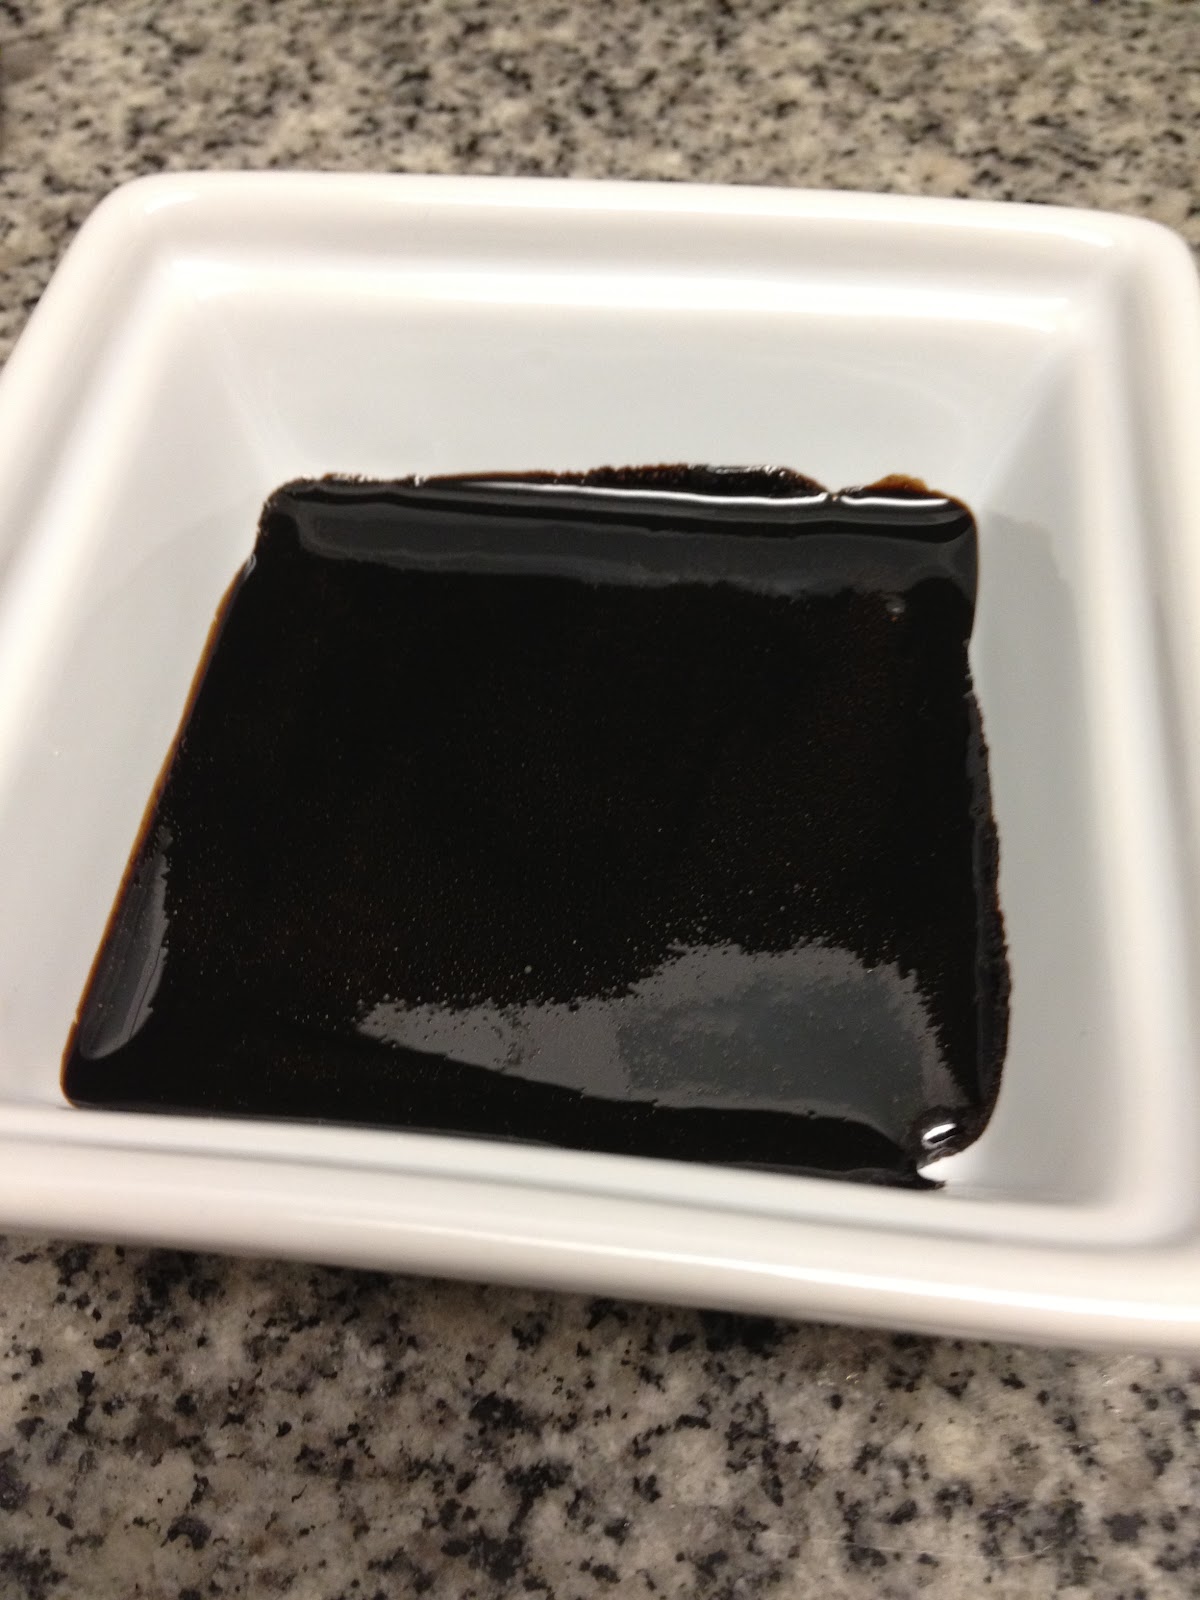
I used a few ingredients to create this masterpiece. First, I found an amazing extra large tomato, but you can find perfectly good heirlooms smaller in sizes. With that, you just need some olive oil, sea salt, cracked pepper, balsamic, honey, sugar, and some really darn good cheese. The cheese I picked here is called Roncal - a creamy sheep's milk cheese from Spain. It was a perfect pick to pair with the tomato and balsamic reduction...not too mild, but not too stinky. This simple appetizer was so fantastic, easy to prepare and looked beautiful!

Balsamic Reduction: For 1 Large Tomato
  • 4 tbs Balsamic Vinegar
  • 1 tsp Honey (I used Lavender Honey to give an extra kick)
  • 1/2 tsp Sugar
Tomato Salad:
  • Extra Large Heirloom Tomato, thickly sliced
  • Extra Virgin Olive Oil
  • Sea Salt
  • Cracked Black Pepper
  • Roncal Cheese, sliced
For the balsamic reduction - heat the balsamic in a small pot until it comes to a boil. Lower heat and add the honey and sugar. Mix until it is fully dissolved. Once the balsamic cooks down and thickens remove from heat. That's it!


Slice the tomato like so.


To plate, first drizzle a little olive oil on the bottom of your plate. Add the largest layer of tomato slices on the bottom base. Add another drizzle of oil on top and some sea salt and cracked pepper. Repeat layers, largest to smallest. Drizzle a little of the balsamic reduction on the side for display, and put the remainder in a small dish for additional use. Add the Roncal on the side.


Dip a piece of tomato and cheese into the balsamic reduction - and enjoy!


Sunday, September 9, 2012

Warm Calamari Salad


This ties into my post about Chilean Sea Bass ... this was the appetizer for the main course! It was a night full of seafood goodness. I randomly got some whole calamari from the fish section while I was at Whole Foods. Figured I can't go wrong with it.

There are so many ways to prepare calamari, other than the classic (and delicious) deep frying. Doing a deep fry with the flour and oil was way too messy for a Friday night - so I went with something light and simple.


Ingredients: For 2
  • 3 Whole Calamari, cleaned and cut into rings.
  • 3 tbs Extra Virgin Olive Oil
  • 1 Garlic Glove
  • 1/2 Lemon, juiced
  • 1 tbs Parsley, chopped
  • Salt and Pepper to taste
Clean and cut the calamari into rings. If you have tentacles, just rinse them and pat dry.

Before
After


Toss everything with the olive oil in a bowl. Add the garlic, salt, and pepper - toss again.  Heat a frying pan, and add the calamari so that everything is evenly spread in a single layer. Flip all pieces a couple times, cooking for about 5-7 minutes. The calamari will turn white and the tentacle legs will curl up and shrink. They will cook fast, so make sure not to over cook them or they will be chewy and rubbery.


Once done, plate them, squeeze the lemon on top and toss with the fresh parsley. Garnish with extra parsley and a lemon wedge in case you need more.

Saturday, September 8, 2012

Chilean Sea Bass with Garlic Mustard Crust


It was Friday evening after work and I had to stop into Whole Foods on my way home to grab groceries for dinner. I knew I was making seafood, so I headed straight for the fish department. Going back and forth between Halibut, Tuna, and Chilean Sea Bass, I chose the Sea Bass because it looked the freshest...and not to mention it is my favorite. Even though all these steak like fish filets can run up your grocery bill, making these at home will save you about half the price!

So, I have this Chilean Sea Bass and no idea what to do with it. I originally was going to just season it with salt and pepper and sear it in olive oil... but I wanted to add something to it ... something a little more interesting. I made this absolutely delicious crust which included Djion Mustard, Fresh Garlic, and Thyme. It was super simple and tasted like it came from a 5 star restaurant - I swear. Buon Appetito!

Ingredients: for 2
  • 2 Chilean Sea Bass Filets, cut 2 inches thick. Skin on.
  • Olive Oil
  • 2 Lemon Slices (one for each filet)
  • 1 1/2 tbs Djion Mustard (I use Grey Poupon)
  • 2 tsp Red Wine Vinegar
  • 2 Garlic Cloves, minced
  • 4 Sprigs of Fresh Thyme, removed from sprigs and chopped
  • Pinch of Salt and Cracked Pepper
Preheat oven to 400 degrees. Spread some olive oil on the bottom of your baking pan (about 3 tbs). Put the Sea Bass in the pan, skin side down. Drizzle some Olive Oil on top.

Combine the mustard, minced garlic, vinegar, salt, and pepper in a bowl - mix well.

Spread this evenly on top of each Filet. Drizzle additional olive oil on top (about 1 tbs each). Top off with a slice of lemon on each filet.


Cook for about 25-30 minutes, until Sea Bass is fully cooked through. Remove from oven and let sit for about 1-2 minutes before eating/serving.


The Sea Bass will peal right off the skin when you fork out a piece. My Sea Bass was served with a side of red romaine lettuce, dressed with fresh lemon juice, onion, oregano, salt and pepper. A nice and light side for a hearty, buttery fish.